Step 1: Open the New Account
Opening an online bank account takes 5–10 minutes — you'll need your Social Security number, a government ID, and an existing bank account to fund the initial deposit. Most online banks allow you to open with $0–$25. Don't close the old account yet — you need it as a bridge during the transition period.
Before opening, confirm: no monthly maintenance fees, no minimum balance requirements, FDIC insurance, a large ATM network (Allpoint or MoneyPass with 55,000+ ATMs), and a solid mobile app rating.
Step 2: Move Direct Deposit
Direct deposit is the most important connection to update — your paycheck or government benefits. Contact your HR department or benefits administrator and provide your new routing and account numbers. Most employers process the change within 1–2 pay cycles. Some banks provide a direct deposit form you can submit to your employer. Until the change processes, your old account will still receive deposits — which is why keeping it open is essential.
Step 3: Update Automated Payments
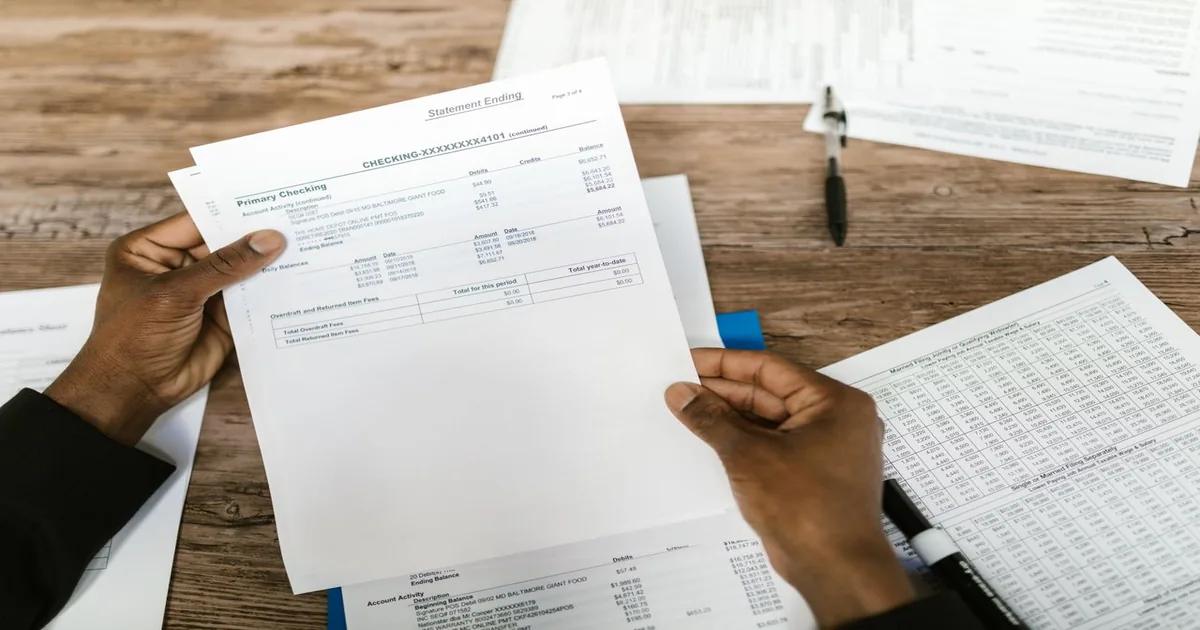
Pull 2–3 months of bank statements and highlight every automated debit: rent/mortgage, utilities, insurance premiums, streaming subscriptions, gym memberships, loan payments, and any other recurring transactions. Make a list. Update each one individually by logging into the vendor's website or calling them. Prioritise essential bills (rent, utilities, loan payments) first. Less critical subscriptions (streaming services) can be updated last.
This is the most time-consuming step — but with a list of 10–20 items, one or two evenings handles it completely.
Step 4: Run Both Accounts in Parallel
Keep both accounts open and funded for 4–6 weeks after setting up the new account. Watch the old account for any automated debits that didn't get moved — they'll still process there until updated. Transfer money from new to old as needed to cover any stragglers. This parallel-running period prevents missed payments.
Step 5: Close the Old Account
After 4–6 weeks with no transactions hitting the old account, you're ready to close it. Call the bank or visit a branch. Request a cashier's check or wire transfer for any remaining balance. Get written confirmation that the account is closed. Keep this confirmation for your records — occasionally banks experience processing issues and confirmation documents are useful.
Note: some banks charge an early account closure fee if you close within 90–180 days of opening. Check the account terms before closing.
Switching Banks Globally
UK — Current Account Switch Service (CASS): The UK has a government-backed switching service that makes bank switching remarkably easy. CASS guarantees the switch completes in 7 working days. It automatically moves all direct debits, standing orders, and incoming payments — including redirecting any misdirected payments for 3 years. Participating banks (all major UK banks participate) handle the entire process on your behalf. To use it, simply open the new account and request a switch — the bank does the rest. CASS information at currentaccountswitch.co.uk.
India: Bank switching in India is more manual than in the UK. The process involves opening the new account, updating employers and payment providers with new IFSC/account details, and eventually closing the old account. UPI IDs (like GPay, PhonePe linked accounts) may need to be re-linked. The main incentive for switching: public sector bank accounts (SBI, PNB) may offer lower interest rates and less convenient digital banking compared to private sector banks (HDFC, ICICI, Kotak) or small finance banks offering higher savings rates.
Canada: Canadian bank switching is manual like the US — no equivalent to the UK's CASS. The FCAC provides a switching guide at canada.ca. The process mirrors the US: open new account, move direct deposit, update pre-authorised debits one by one, run parallel for 4–6 weeks, then close old account. Some Canadian banks offer switching packages with dedicated support.